All features / Portrait & photo
Portrait retouching software for Windows
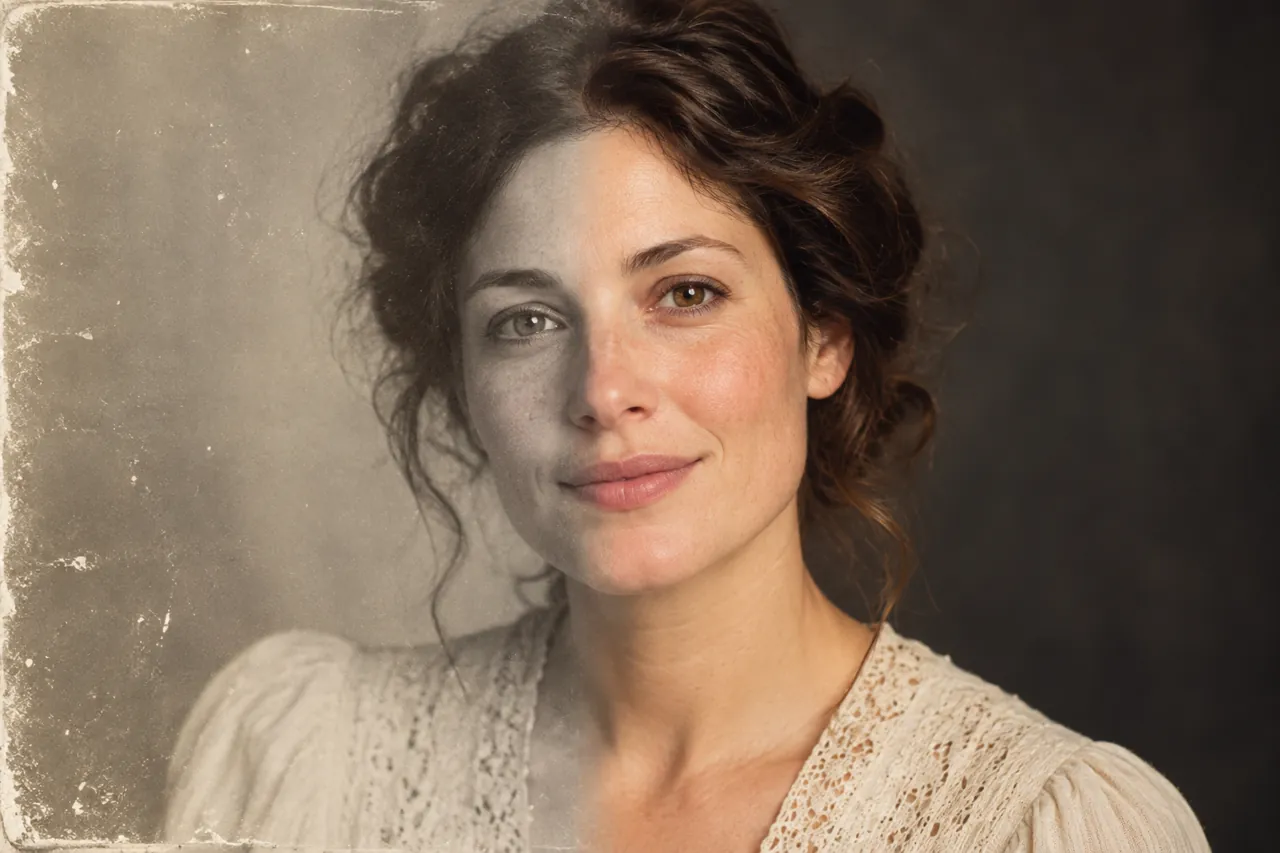
Retouch skin, adjust facial details and shape the light without losing the character of the person. Work through the portrait panel at your own pace.
WORKFLOW
How it fits your workflow
Choose focused portrait controls instead of a single preset
Adjust skin, makeup and facial details separately
Use portrait relighting when the face needs better light
Practical details before you begin
Begin with the image’s lighting and skin tone. A small correction usually looks more convincing than pushing every slider to its maximum. Then adjust only the facial details and makeup that serve the photo.
The portrait panel separates beauty, facial shaping, makeup and relighting. That makes it easier to compare one type of change at a time and keep the person recognizable.
STEP BY STEP
How to use it in the software
Portrait panel: four tabs, four jobs
How to open
Menu Portrait → Portrait retouch / makeup. A dedicated panel appears on the right.
Four tabs
Beautify: smooth skin, whiten, even skin tone, remove dark circles, brighten eyes, remove blemishes, brighten skin (7)
Reshape: slim face, V-face, narrow nostrils, raise nose bridge, chin, forehead, enlarge eyes, open eye corners (8)
Makeup: 7 areas including brows, eyes and lips, plus 8 complete presets
Skin: remove blemishes, remove spots, smooth skin, even skin tone, remove shine, whiten teeth, soften nasolabial folds (7)
Three more at the top
The top strip switches between portrait / hair colour / hairstyle. Hair colour recolours hair; hairstyle swaps the style.
Every change lands on its own portrait layer. Close the panel and reopen it to keep tuning — the original is never damaged
Beautify tab: how to balance seven sliders
Suggested approach
Move only two at first: smooth 40, whiten 25. Look, then decide about the rest.
What each does
Smooth skin: heavy smoothing looks like plastic. Past 60 the skin texture is gone
Whiten: brightens without shifting hue. Up to 30 stays natural
Even skin tone: evens out red or yellow patches. Very useful with visible blotches
Remove dark circles: for tired faces. Do not overdo it or the under-eye area turns grey
Brighten eyes: lifts the whites and catchlights only. It does not enlarge the eyes
Remove blemishes: spot-type flaws. Different from smoothing, which works on the whole area
Brighten skin: lifts overall tone by one step. Unlike whiten, it keeps more of the original hue
Group photos: one face at a time
At the bottom of the panel there is a "Next face 3/5" button — the app detects every face in the photo
and lists them one by one. Click it to move to the next person; each face keeps its own independent
set of smoothing, whitening and makeup parameters. That is how you beautify a group photo person by person:
tune A, switch, tune B, switch again. When the button reads "Re-detect", click it to scan faces again
(use it if someone was missed).
Pushing all seven to 80 gives you "a face with no pores". Real photos usually need two
Portrait relight: choosing among five light positions
How to open it
Menu Portrait → Portrait relight. A relight panel appears on the right.
This is a different thing from portrait beautify: beautify changes the face and skin, relight puts a new lamp on the existing photo.
Five preset positions
Butterfly: high and frontal, with a small butterfly-shaped shadow under the nose. Slimming; ID and profile shots
Loop: about 30 degrees to the front-side. The universal choice that suits anyone
Rembrandt: 45 degrees to the side, with a triangle of light on the cheekbone. Dramatic; portrait work
Side: straight from the side, half light and half dark. Hard contours, for men and a tough look
Rim: from behind and to the side, tracing the outline. The first four add to the existing light; this one relights
Five sliders
Light direction (±180 degrees), light height (±80 degrees), intensity (%, start around 30),
softness (%, higher means softer edges) and colour temperature (−100 cool to +100 warm).
Two more groups
Light colour, 6 options: neutral, warm, cool, rose, cyan-blue and violet
Scope, 5 options: face / upper body / person / current selection / whole photo
"Upper body" and "person" need the local matting model to find the subject; without it you get a message.
"Current selection" needs a selection made beforehand, or it warns you too
Do not start by pushing intensity to maximum. Relight fills shadows; maxed out you get a flat white face — try 30 first
STEP BY STEP
Feature 5 · Portrait retouch
Need exact settings and steps? Read the matching chapter of the in-app manual online.