All features / Portrait & photo
Fix a dark face with portrait relighting
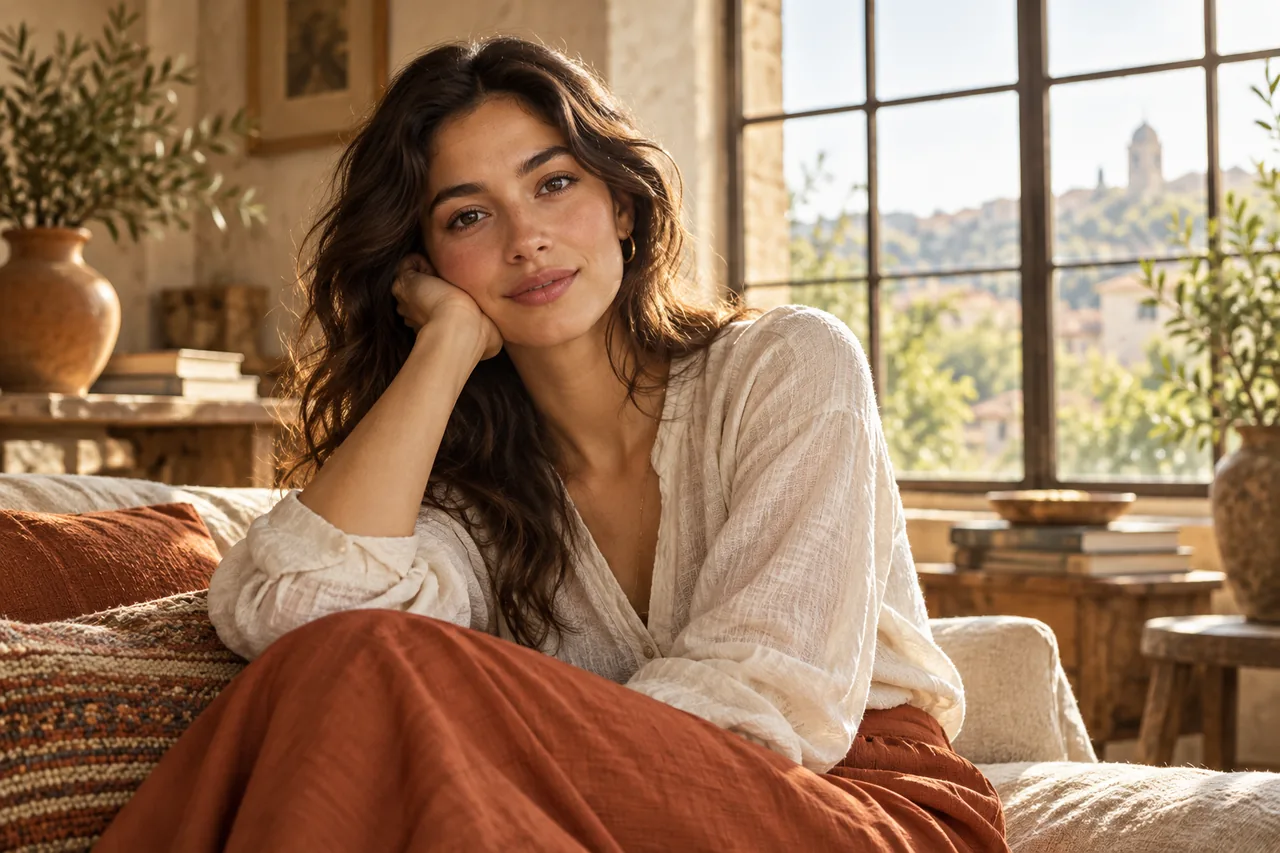
A good portrait can still leave the face in shadow. Add light in a chosen direction, adjust its strength and color, and keep the result natural.
WORKFLOW
How it fits your workflow
Lift a face without brightening the entire frame
Choose from several light directions
Tune the effect to the existing scene
Practical details before you begin
When a backlit scene is exposed for the background, lifting the whole image can wash out the sky or window. Portrait relighting focuses on the person instead.
Pick a light direction that makes sense in the original scene. Start with low strength, compare the face and the nearby background, and stop when the adjustment looks believable.
PRACTICAL GUIDE
How to brighten a face in a backlit photo
Match the new light to the direction already present in the scene. Raise its strength gradually and compare the face with the background so the portrait stays believable.
Should I brighten the whole photo or relight the face?
If the background is already exposed well, lifting the whole frame can wash it out. Portrait relighting concentrates on the person.
Why does the added light look artificial?
Try a lower strength, then check the direction and color against the existing light. Compare skin tone and face edges with the original.
STEP BY STEP
How to use it in the software
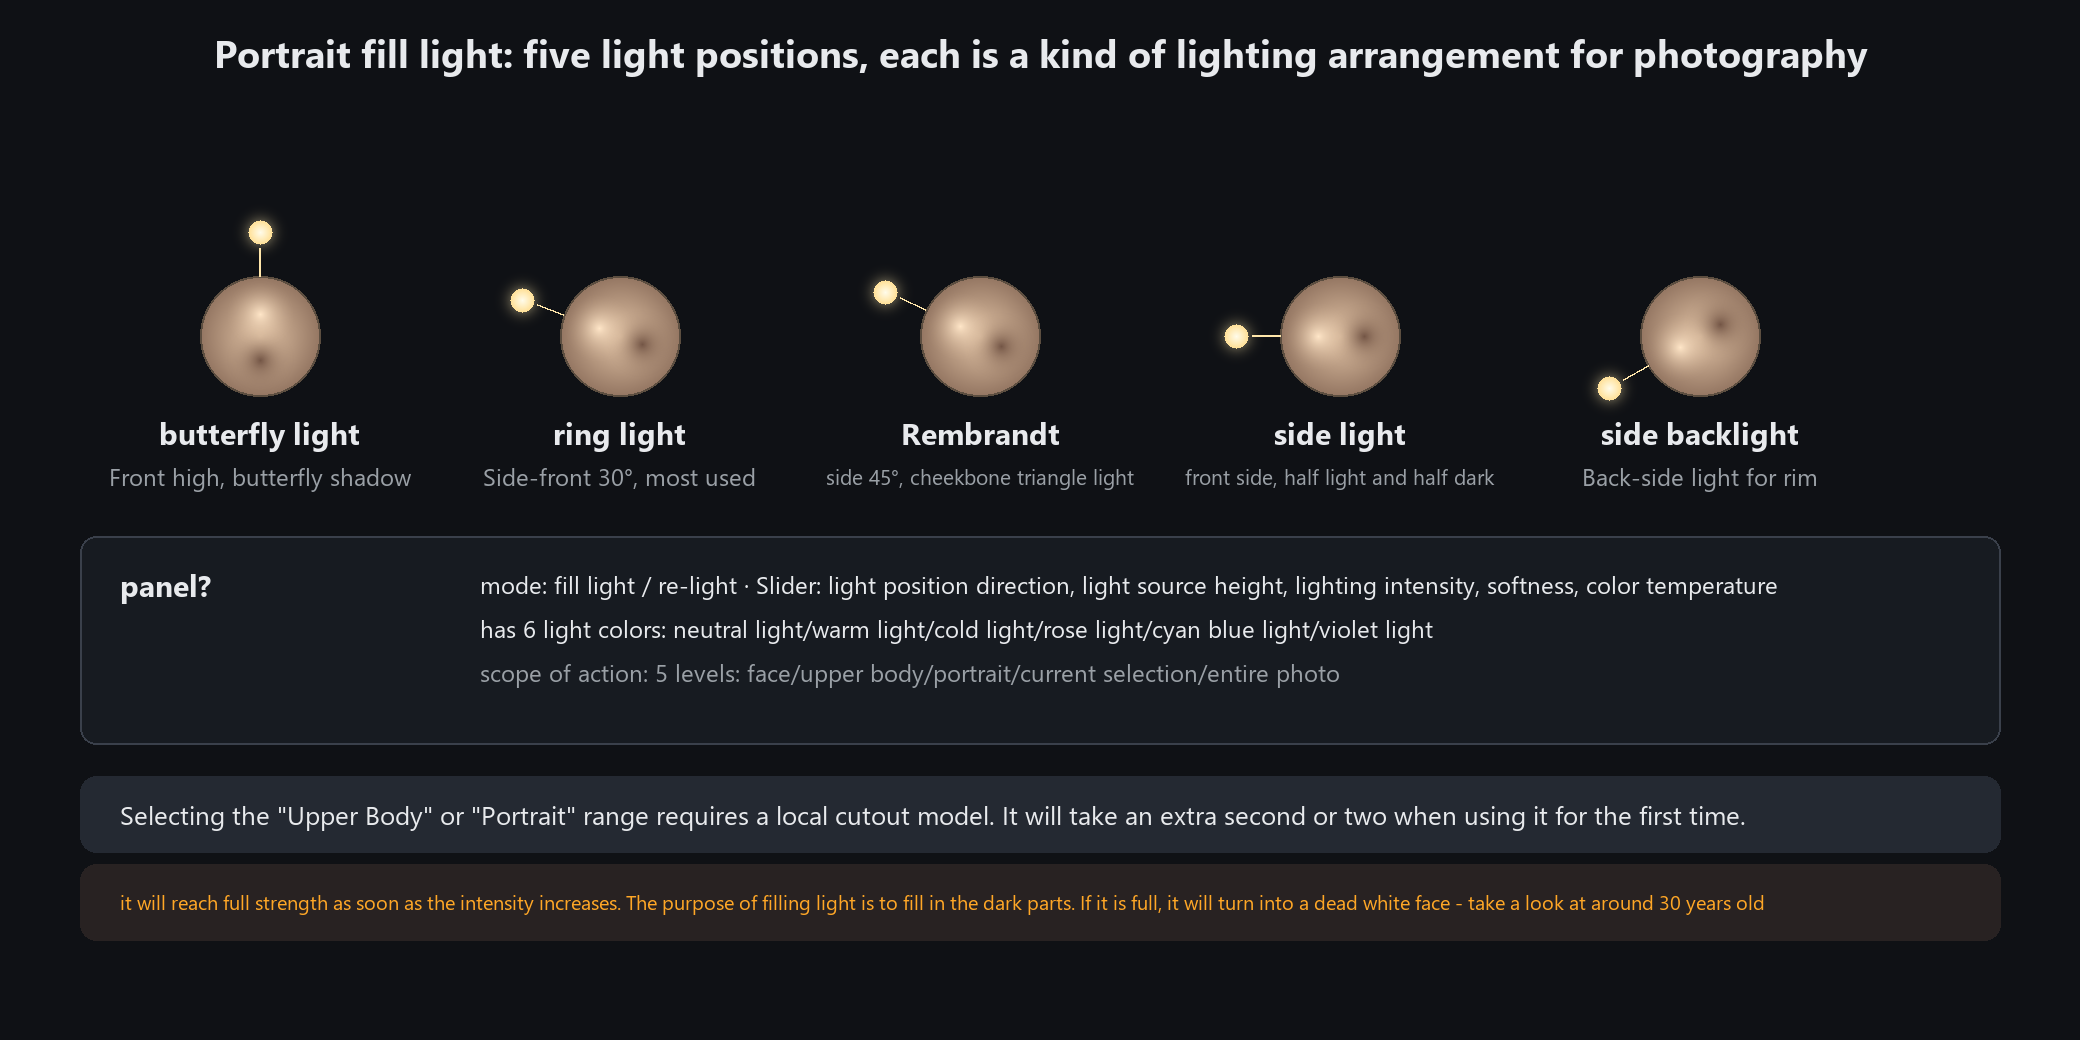
Portrait relight: choosing among five light positions
How to open it
Menu Portrait → Portrait relight. A relight panel appears on the right.
This is a different thing from portrait beautify: beautify changes the face and skin, relight puts a new lamp on the existing photo.
Five preset positions
Butterfly: high and frontal, with a small butterfly-shaped shadow under the nose. Slimming; ID and profile shots
Loop: about 30 degrees to the front-side. The universal choice that suits anyone
Rembrandt: 45 degrees to the side, with a triangle of light on the cheekbone. Dramatic; portrait work
Side: straight from the side, half light and half dark. Hard contours, for men and a tough look
Rim: from behind and to the side, tracing the outline. The first four add to the existing light; this one relights
Five sliders
Light direction (±180 degrees), light height (±80 degrees), intensity (%, start around 30),
softness (%, higher means softer edges) and colour temperature (−100 cool to +100 warm).
Two more groups
Light colour, 6 options: neutral, warm, cool, rose, cyan-blue and violet
Scope, 5 options: face / upper body / person / current selection / whole photo
"Upper body" and "person" need the local matting model to find the subject; without it you get a message.
"Current selection" needs a selection made beforehand, or it warns you too
Do not start by pushing intensity to maximum. Relight fills shadows; maxed out you get a flat white face — try 30 first
Soft skin, skin tone, portrait background blur
Three one-slider shortcuts
Soft skin: softens skin across the area without moving the features. Faster than smoothing inside the portrait panel
Skin tone: brightens skin areas only; the background is untouched
Portrait background blur: cuts the person out and blurs what is behind
All three live in the Portrait menu. Choosing one opens a dialog with a single strength slider.
Two things in the dialog
Live preview (on by default): see the result as you drag
Press to see original: hold it to show the unprocessed image for a direct comparison
All three land on their own layer, leaving the original intact. To retune: click the thumbnail at the left of that
filter layer in the layer panel, and the dialog reopens with your last values, updating in place
Soft skin and skin tone need a detectable skin area, or you are asked to use a clearer portrait; background blur needs the local matting model
Do not run all three at full strength. Soft skin plus skin tone plus blur looks like a plastic film — one of them is usually enough
STEP BY STEP
Feature 5 · Portrait retouch
Need exact settings and steps? Read the matching chapter of the in-app manual online.