All features / Portrait & photo
Restore scratched and damaged old photos
Old prints collect dust, scratches, tears and stains. Work through them in a fixed order — dust detection first, AI repair for large damage, AB brushes for the fine spots — and keep the character of the original.

WORKFLOW
How it fits your workflow
Four passes in a fixed order: dust, holes, spots, colour
AI repair fills painted damage from the surrounding content
Dust detection with a review pass before cleaning
Practical details before you begin
The order matters: colourise only after the damage is repaired, otherwise the repaired areas will not match the new colours. For most photos the dust pass plus two or three AI-repaired areas is enough; keep the AB brushes for what remains.
AI repair works best on large damage such as tears, missing corners and heavy mold. Very small specks of 1–5 pixels are handled better by the smart speck eraser or the AB brushes, which do not smear the surroundings.
PRACTICAL GUIDE
Remove scratches and repair a damaged old photo
Open the Photo repair panel and work in four passes: detect dust specks first, paint over large damage and let AI repair fill it, then finish the small spots by hand with the AB brushes.
Does this only work on very old photos?
No. Dust on scans, noise from phone cameras and stains on old files go through the same passes. Torn corners, missing pieces and heavy mold are handled by AI repair — paint the whole area generously.
Why did dust removal delete a catchlight in the eye?
Automatic detection can read eye highlights as white specks. Always review the detected marks before cleaning, and skip anything on facial details — it is safer to leave a few specks behind.
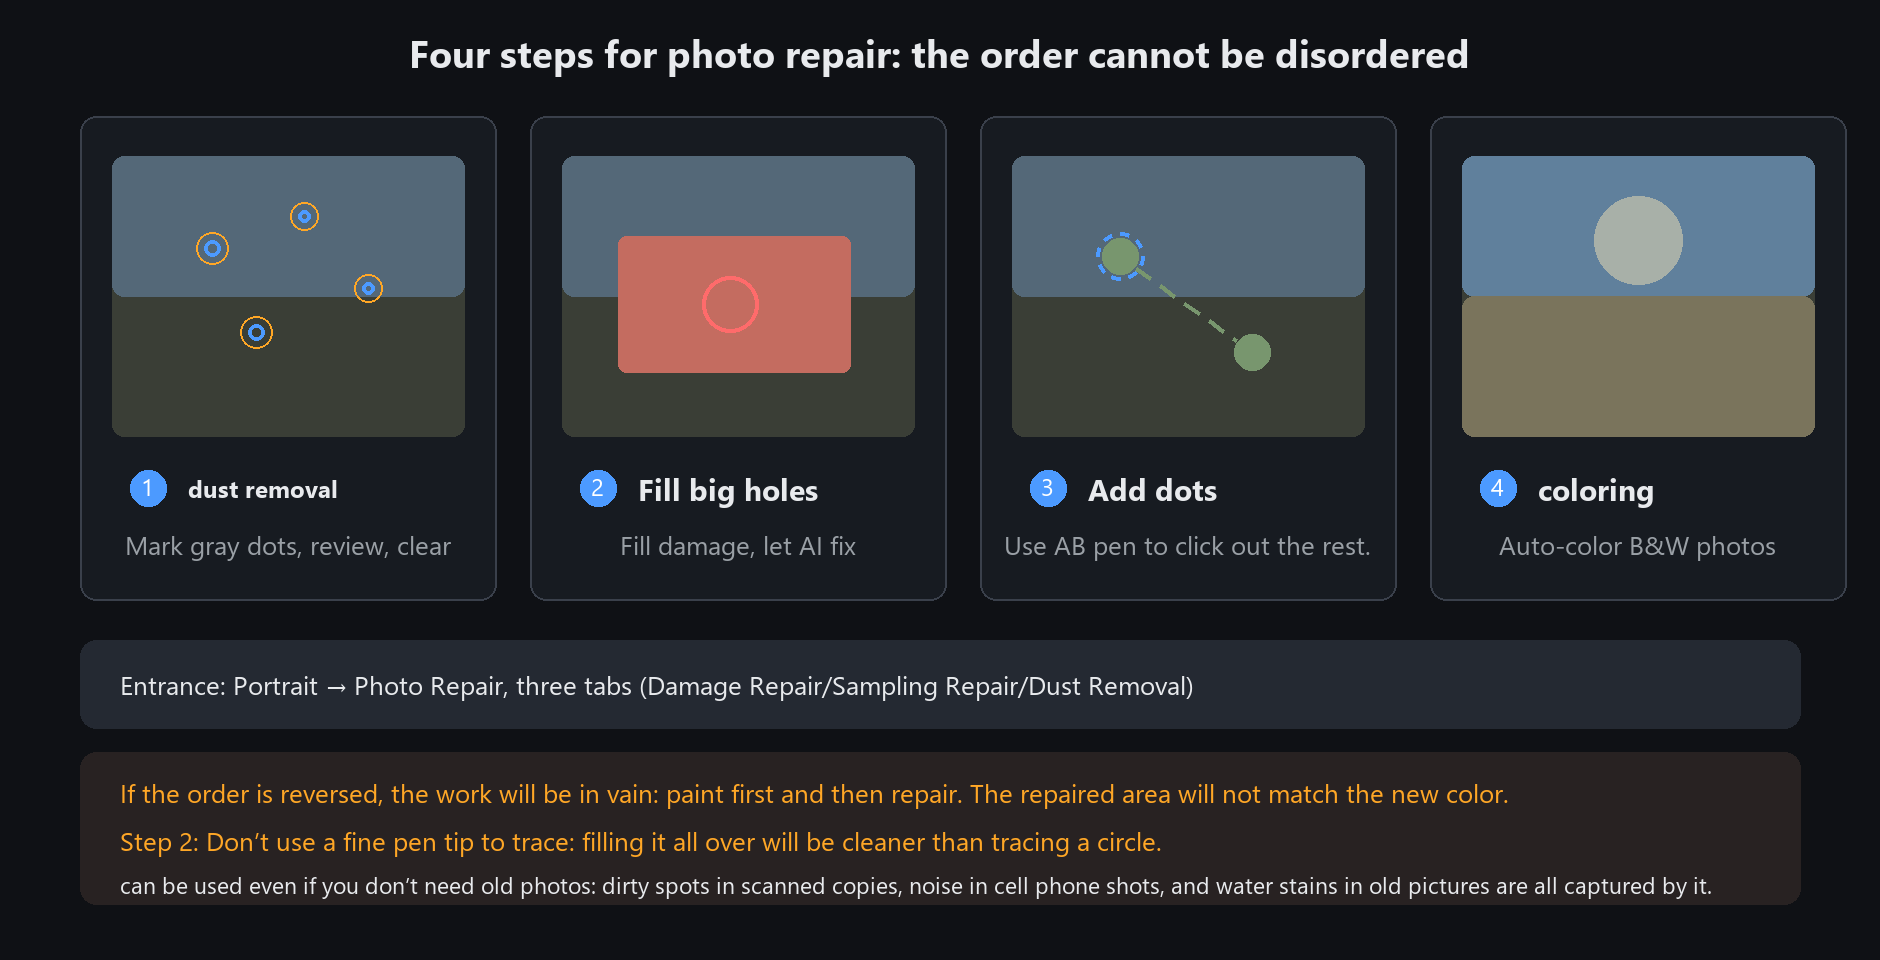
STEP BY STEP
How to use it in the software
Photo repair in four passes
1. Remove dust: detect dust specks (white and black), confirm the marks, then clean
2. Fill large holes: paint over the damage and let AI repair it (LaMa)
3. Fix small spots: handle what remains by hand with the A/B brushes
4. Colourise: automatic colour for monochrome photos
The order matters. Colourise first and the repaired patches will not match the new colour.
Repair first, then colourise, and the whole photo shares one palette
Dust removal: setting sensitivity
Tick whether to detect white specks, black specks, or both
Click sensitivity to switch level, then run detection again
Detection lists the marks — always review before cleaning, because catchlights in eyes get flagged as white specks
Be careful with black-speck detection around facial features. Better to miss a few than to erase an eye
AI repair: paint where it should be fixed
Paint over the whole damaged area with the brush. Paint generously rather than drawing a thin line
Click process; AI fills the painted region from the surrounding content
You can undo and repaint as often as you like
For ordinary photos there is a shortcut: AI repair in the eraser group of the toolbox runs the same model,
and it starts repairing the moment you release the mouse — no process button to click
AI repair handles large damage well — tears, missing corners, big mould patches.
For tiny specks it tends to smear; use the A/B brushes there instead
STEP BY STEP
Photo repair
Need exact settings and steps? Read the matching chapter of the in-app manual online.