Portrait
Portrait retouching, all in one place
One-tap beauty, backlit fill light, ID photo background replacement, photo restoration and colorization, smart whitening, one-tap makeup, one-tap hair color. Every parameter adjusts freely.
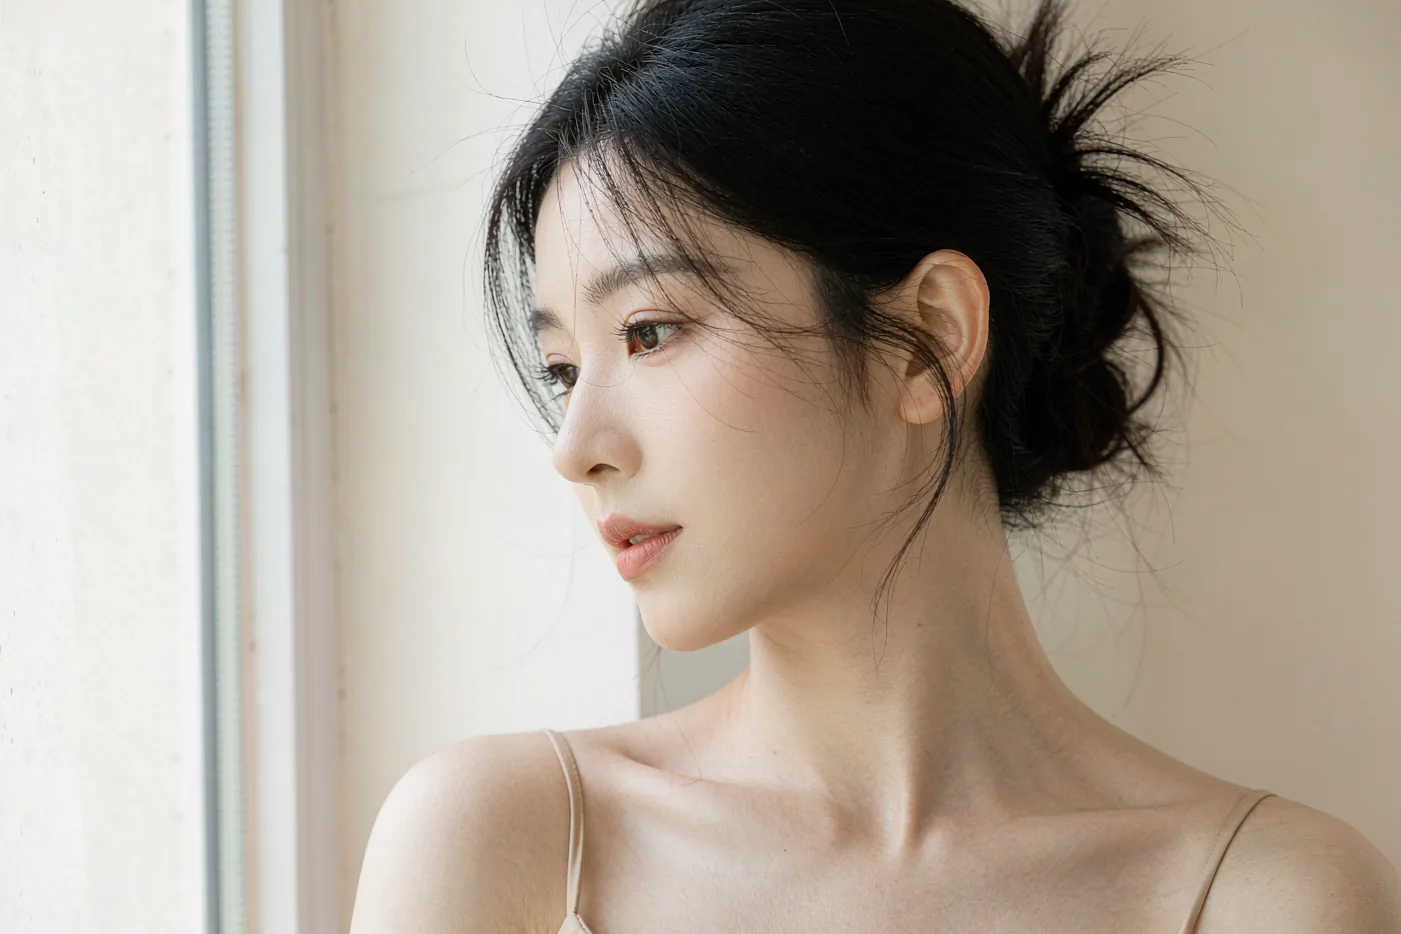
01 / Portrait tools at a glance
Choose the task your photo needs
Select a situation, see the matching tool, then open its page for settings and practical steps.
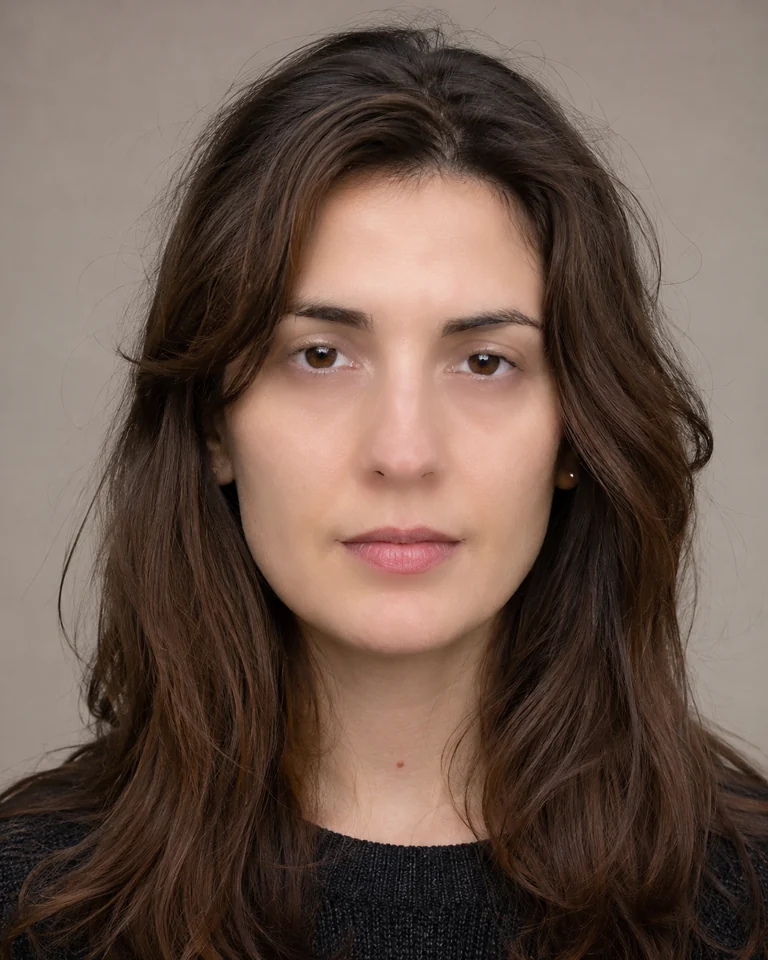 Generated source portrait; beauty result exported by WenCang Image
01 / 05
Portrait retouching software for Windows
Retouch skin, adjust facial details and shape the light without losing the character of the person. Work through the portrait panel at your own pace.
Explore this tool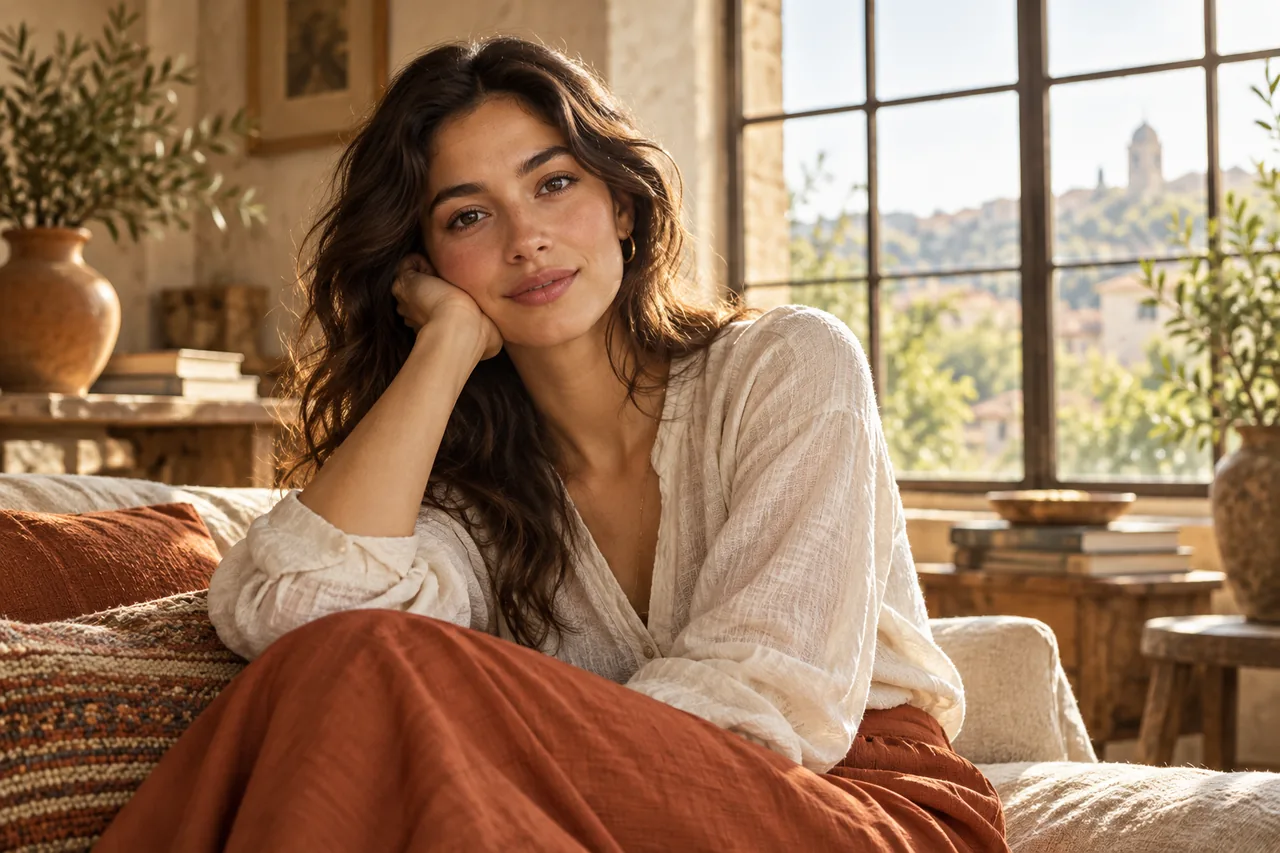 Illustrative workflow image
02 / 05
Fix a dark face with portrait relighting
A good portrait can still leave the face in shadow. Add light in a chosen direction, adjust its strength and color, and keep the result natural.
Explore this tool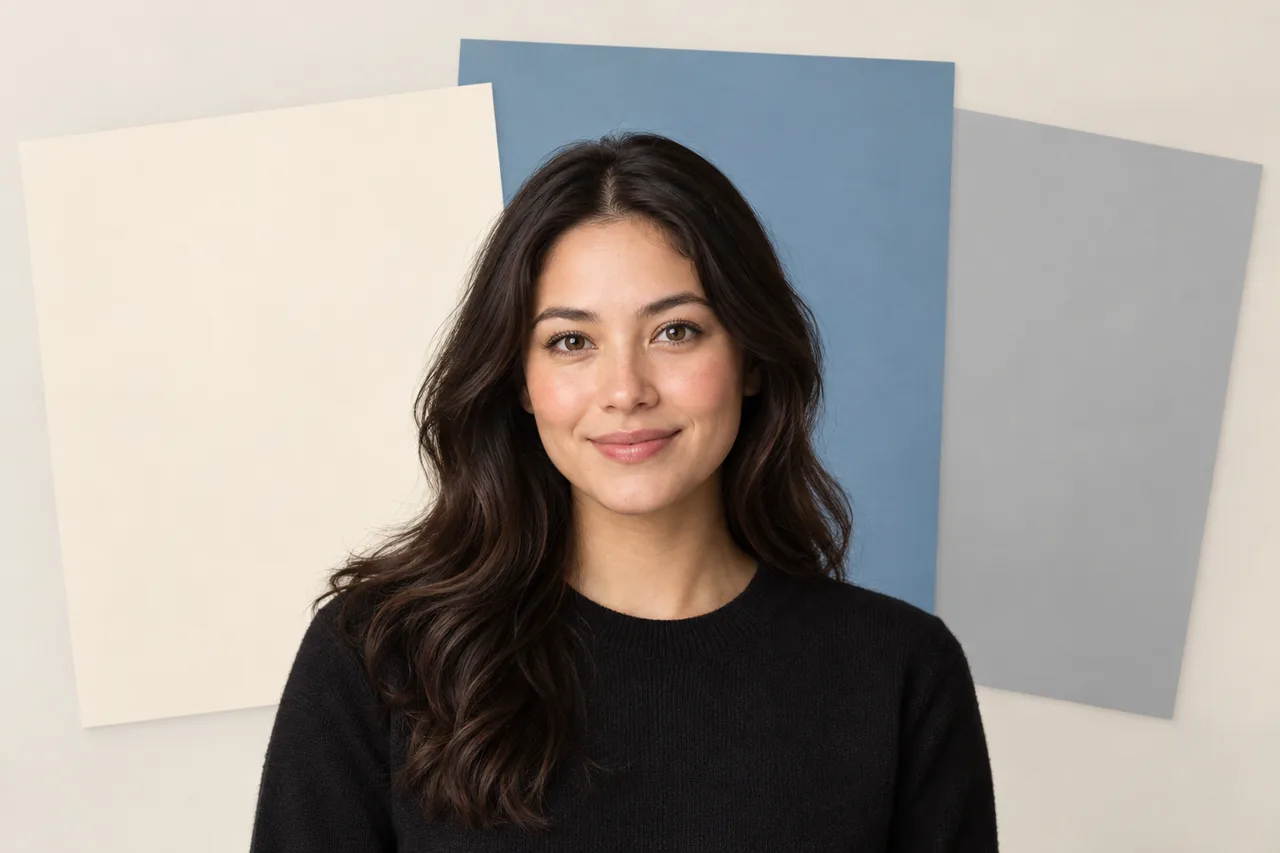 Illustrative workflow image
03 / 05
Change a portrait or ID photo background
Need a clean portrait background for an ID photo or profile image? Separate the person, inspect the edges and choose a suitable solid color.
Explore this tool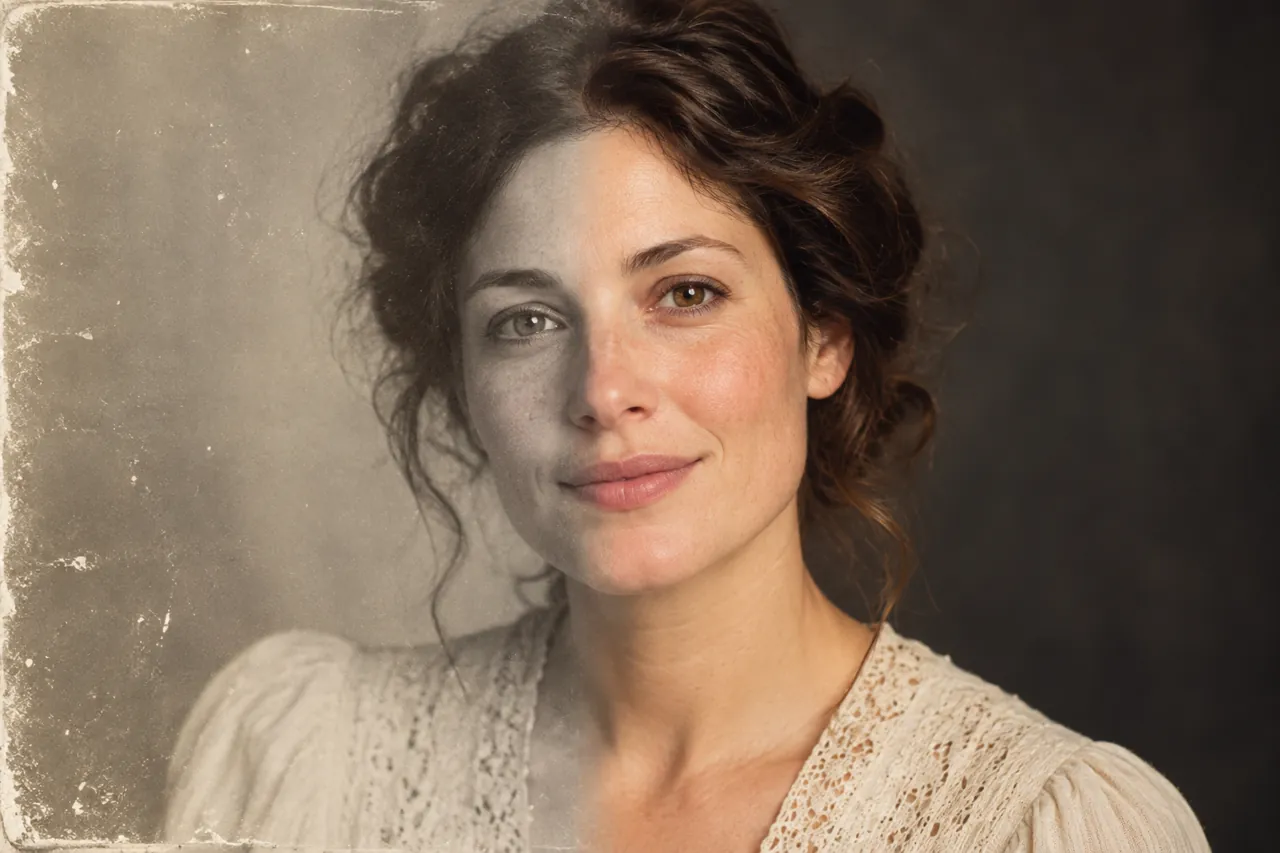 Illustrative workflow image
04 / 05
Restore scratched and damaged old photos
Old prints collect dust, scratches, tears and stains. Work through them in a fixed order — dust detection first, AI repair for large damage, AB brushes for the fine spots — and keep the character of the original.
Explore this tool
Illustrative workflow image
05 / 05
Colorize black and white old photos
Automatic colourisation with manual control: adjust colour strength, remove the yellow cast of old prints, and pin known colours — a green uniform, a red scarf — with a main colour.
Explore this tool02 / Questions people ask most
Questions that come up in portrait editing
01How to brighten a face in a backlit photo+
Match the new light to the direction already present in the scene. Raise its strength gradually and compare the face with the background so the portrait stays believable.
See how to solve it ↗02Change an ID photo background and inspect the edges+
Separate the person first. Zoom in on loose hair, ears and shoulders to check for leftover background. Then choose a solid color, dimensions and format required by the destination.
See how to solve it ↗03Remove scratches and repair a damaged old photo+
Open the Photo repair panel and work in four passes: detect dust specks first, paint over large damage and let AI repair fill it, then finish the small spots by hand with the AB brushes.
See how to solve it ↗04Colorize an old black and white photo with believable colors+
Colourise after the damage is repaired — it is the last pass. Drop the colour strength from 100 to about 70 if the result is too vivid, tick “remove yellowing” for old prints, and assign a main colour when the subject’s colour is known, such as a green uniform.
See how to solve it ↗