All features / Portrait & photo
Colorize black and white old photos
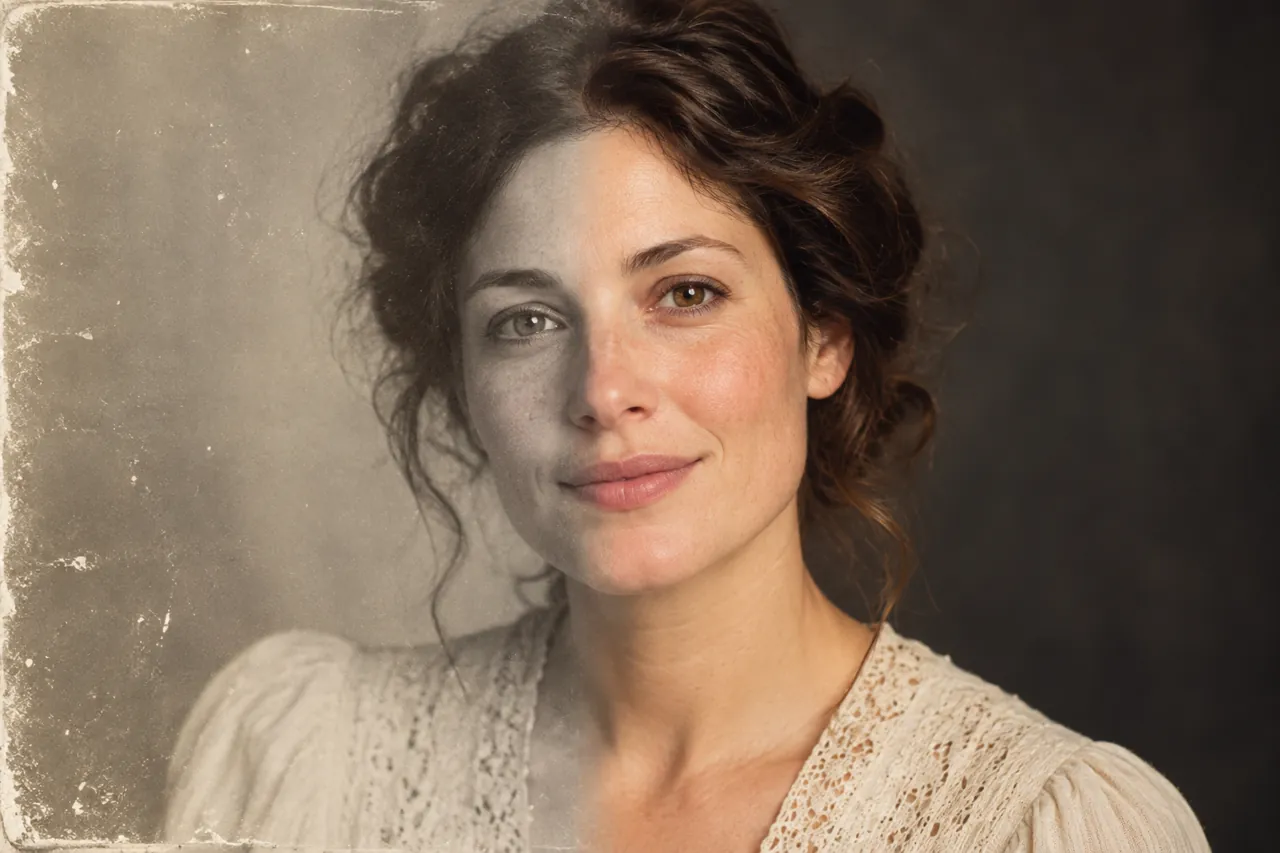
Automatic colourisation with manual control: adjust colour strength, remove the yellow cast of old prints, and pin known colours — a green uniform, a red scarf — with a main colour.
WORKFLOW
How it fits your workflow
Colour strength from 0 to 100; about 70 looks natural
Remove yellowing and protect bright backgrounds
Assign a main colour for known subjects
Practical details before you begin
Colourisation is the last pass of photo repair: dust, repair, then colour. Skin and sky drift the most, so check them first; if a subject's colour is known, pin it with the main colour control and run the colourisation again.
Strength 0 keeps the original greys and 100 uses the model's own colour; around 70 usually reads as natural. Vibrance only enhances colours that already exist and never invents colour in greyscale areas.
PRACTICAL GUIDE
Colorize an old black and white photo with believable colors
Colourise after the damage is repaired — it is the last pass. Drop the colour strength from 100 to about 70 if the result is too vivid, tick “remove yellowing” for old prints, and assign a main colour when the subject’s colour is known, such as a green uniform.
Should I repair the photo first or colorize first?
Repair first. If you colourise before repairing, the patched areas will not match the newly assigned colours and the photo will look patchy.
The colours look too strong or wrong. What now?
Lower the colour strength to around 70, or reassign the main colour for known subjects. Skin and sky drift the most, so check those two first.
STEP BY STEP
How to use it in the software
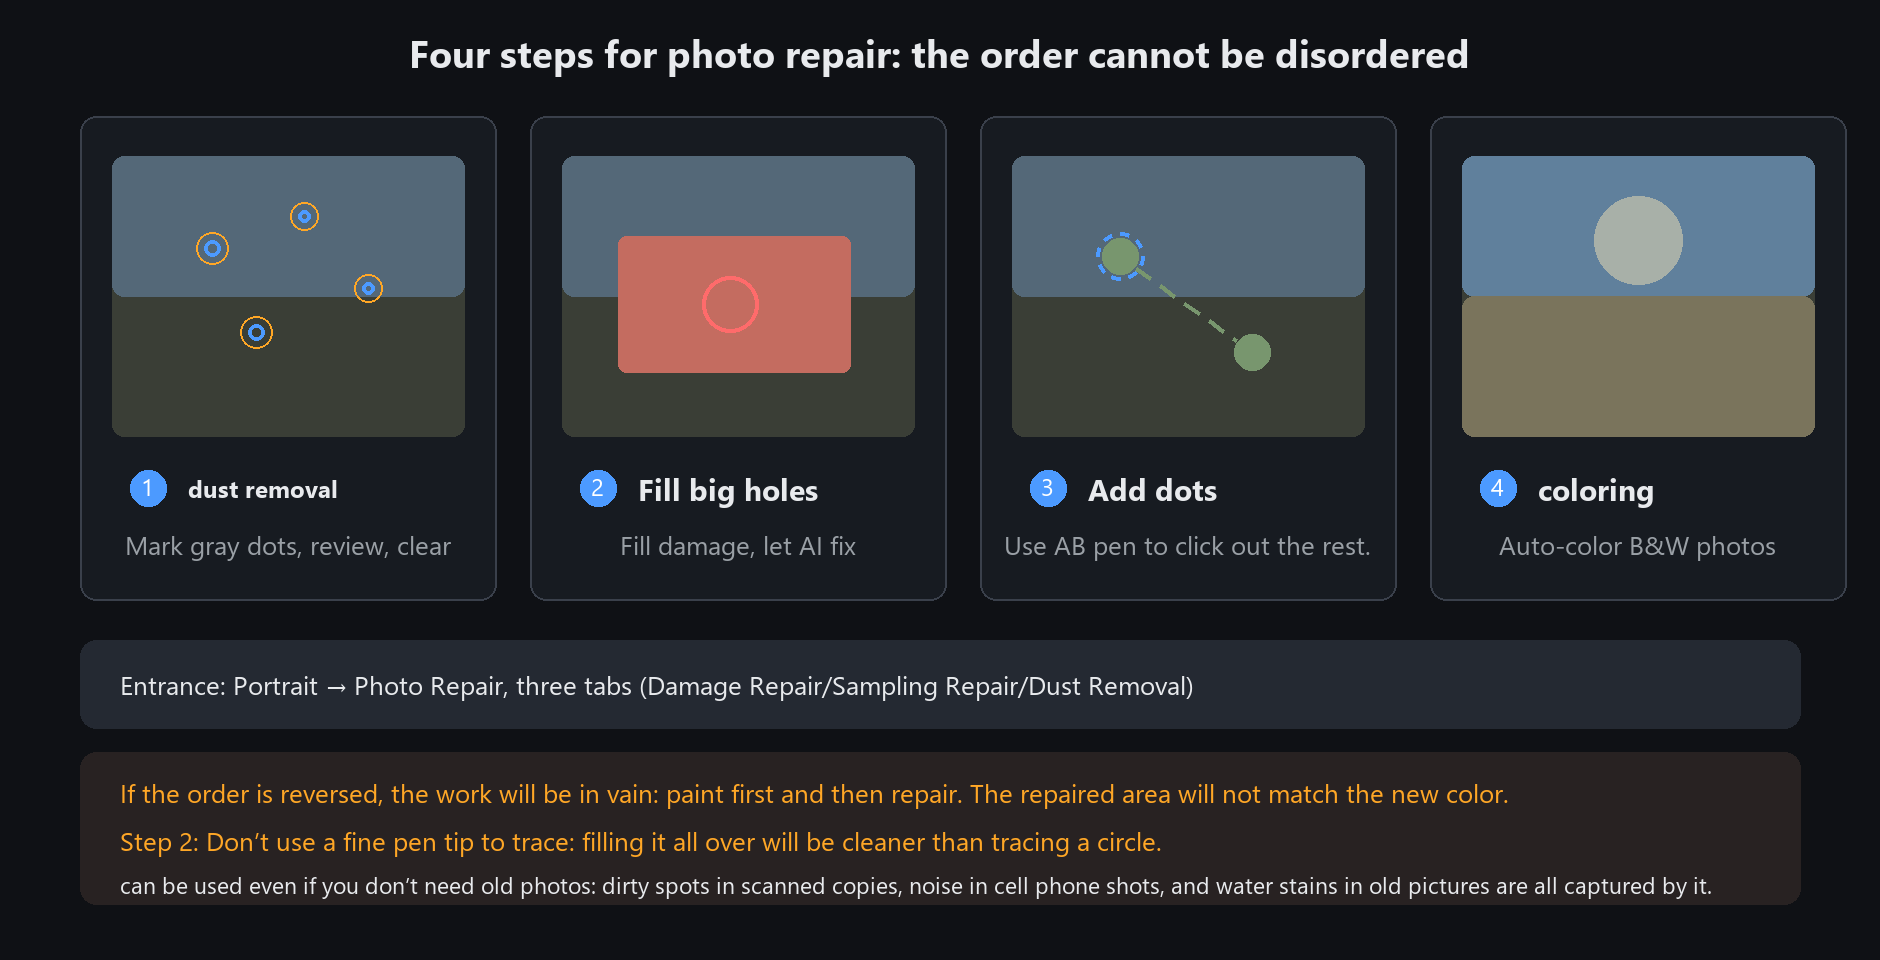
Photo repair in four passes
1. Remove dust: detect dust specks (white and black), confirm the marks, then clean
2. Fill large holes: paint over the damage and let AI repair it (LaMa)
3. Fix small spots: handle what remains by hand with the A/B brushes
4. Colourise: automatic colour for monochrome photos
The order matters. Colourise first and the repaired patches will not match the new colour.
Repair first, then colourise, and the whole photo shares one palette
Colourisation switches
Colour strength: 0 keeps the original greys, 100 is the model's own colour. Too vivid? Drop to 70
Remove yellowing: tick it for the yellow cast of old prints
Vibrance: enhances colours that exist, without inventing colour in grey areas
Background protection: reduces miscolouring of bright backgrounds at the photo edges
Main hue: forces the subject's hue, for example green for a uniform
Check skin and sky first. Those two go wrong most often; if they do, set the main hue and run again
STEP BY STEP
Photo repair
Need exact settings and steps? Read the matching chapter of the in-app manual online.