All features / Batch image processing
Apply one consistent look to a whole folder of photos
The Batch menu groups Watermark / auto beautify together: one mark or one look applied to a set of photos. For a single image, Filter → Auto beautify corrects levels, contrast, white balance, vibrance and clarity.

WORKFLOW
How it fits your workflow
One setting for the whole set
Change one thing at a time when grading
Test on a few different photos first
Practical details before you begin
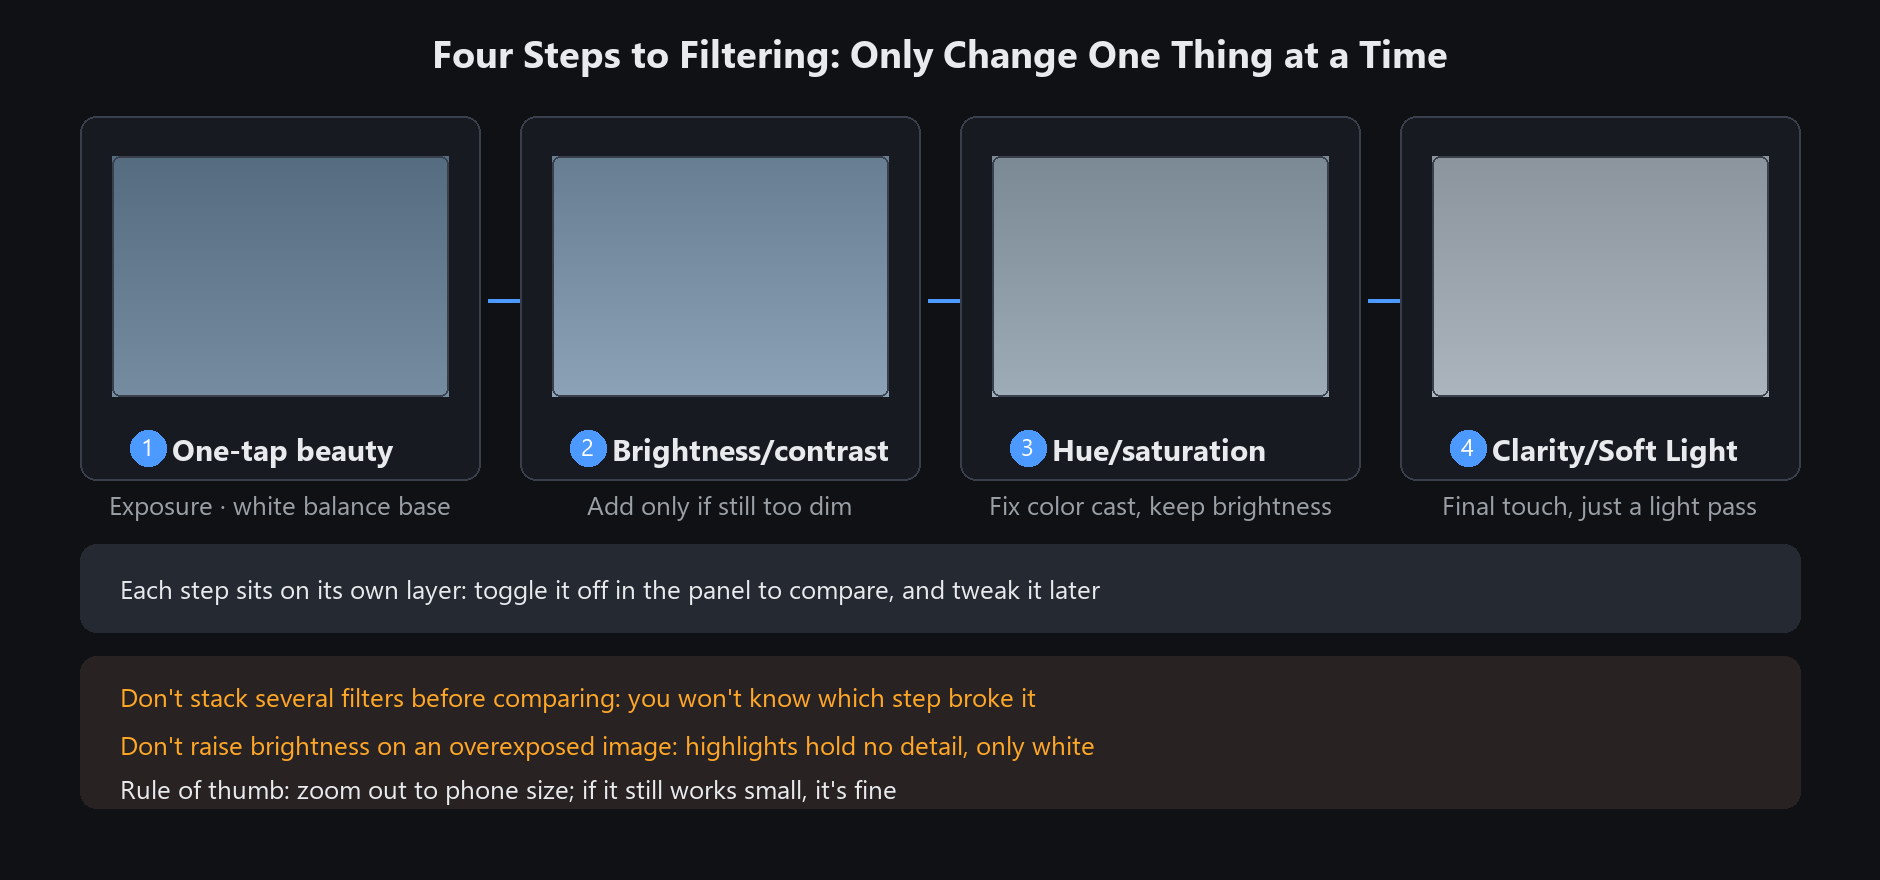
For a single photo, the manual suggests this order: auto beautify first to fix exposure and white balance, then brightness/contrast, then hue/saturation, then clarity or soft light last. Change one thing at a time so you know which step ruined the result.
Judge the result by shrinking the image to phone size — if it still works small, it works. Before a full batch, test on two or three photos with different content and verify the output folder name.
PRACTICAL GUIDE
How do I grade hundreds of photos without ruining the whole batch?
Watermark / auto beautify in the Batch menu applies one look to a set of photos; Filter → Auto beautify on a single image corrects levels, contrast, white balance, vibrance and clarity. Before a full run, test a landscape, a portrait and a square image and verify the output folder.
Is batch auto beautify the same as the filter?
The names are close but they are different: the Batch menu version applies one set of adjustments to a whole folder, while the filter performs automatic exposure and tone correction on the current image — landscapes, still life and food included.
The result feels off. How do I find the cause?
Change one thing at a time, in this order: auto beautify first, then brightness/contrast, then hue/saturation, then clarity or soft light last. Shrink the image to phone size; if it still works small, it works.
STEP BY STEP
How to use it in the software
What batch processing does
The Batch menu groups commands by purpose:
Format conversion: turn a set of images into another format
Resize: maximum dimensions, fixed width or height, exact dimensions, or a padded canvas
File-size limits: compress alone, or limit both dimensions and file size
E-commerce fit: standardise dimensions and padding for product photos
Watermark / auto beautify: apply one mark or look to a set of photos
Batch rename: changes the selected files' names. Check the folder and naming rule first
Most image operations write to a separate output folder; rename changes the original filenames. Review the confirmation screen before running
Three things before running a batch
1. Test on two or three first: one landscape, one portrait, one square. Run the full batch only when happy
2. Check the output folder: image operations usually create one; read any same-name-folder warning before continuing
3. Back up before renaming: rename changes the original filenames. Check the preview and numbering rule
Cancelling
You can cancel mid-run. Files already processed are kept; the rest are skipped.
Hundreds of images take a while, and a progress bar is shown. Do not start another heavy job at the same time
STEP BY STEP
Batch processing
Need exact settings and steps? Read the matching chapter of the in-app manual online.