Crop and size
4 topics from the in-app manual.
Cropping in three steps
1. Pick the crop tool and drag a frame on the canvas
2. Adjust: drag corners to resize, drag inside to move, use the ratio buttons for aspect
3. Enter confirms, Esc cancels
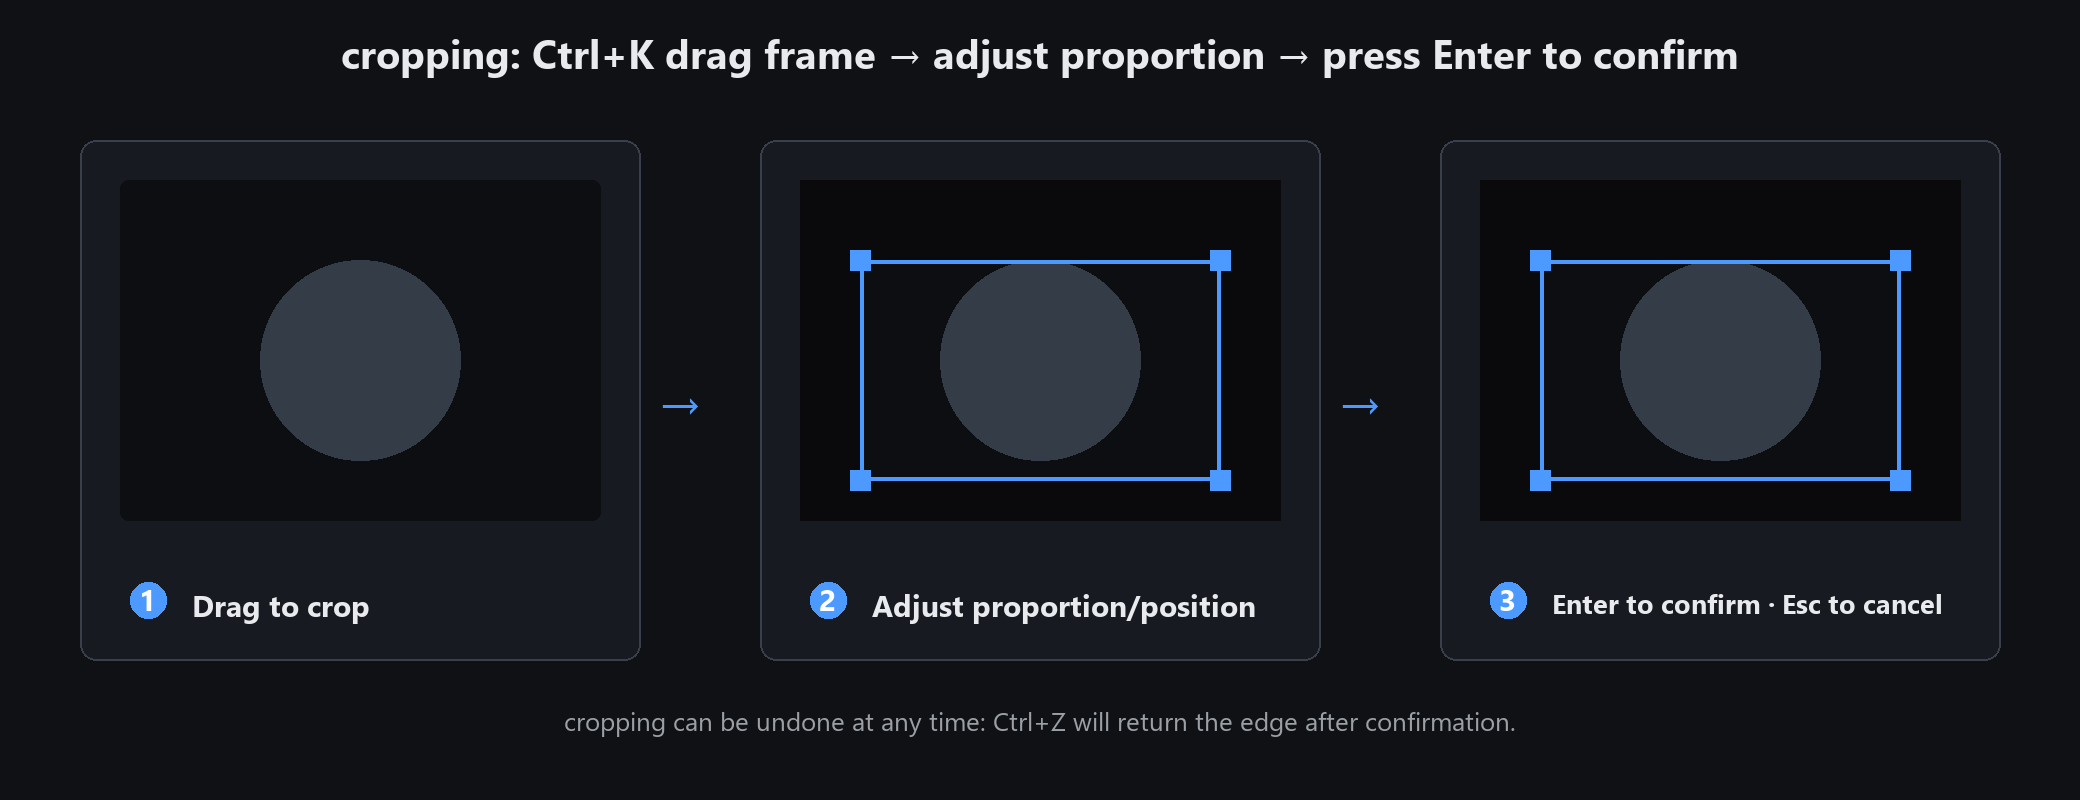
Two composition rules: leave more space on the side the subject is looking toward; never put the horizon dead centre.
For e-commerce, fix 1:1 first and then crop — the whole set comes out identical in size
Resizing: both directions cost something
Downscaling
Essentially lossless. Shrink freely. When a size limit applies, reduce dimensions before squeezing quality.
Upscaling
Pixels are invented from nothing, so enlarging softens the image. Past 2x it is visibly blurry.
Changing DPI
DPI only affects print size, not how many pixels appear on screen.
Changing DPI for screen use is pointless.
If you need print but the original is small, find a larger source instead of forcing an enlargement.
No upscaling algorithm can invent detail that was never there
Common sizes at a glance
WeChat Moments: 1080 × 1080 or 1080 × 1350
E-commerce main image: 800 × 800 or 1000 × 1000
Xiaohongshu: 1080 × 1440 (3:4)
WeChat article cover: 900 × 383 (2.35:1)
Douyin cover: 1080 × 1260
ID photo 1-inch: 295 × 413 px at 300 DPI
ID photo 2-inch: 413 × 579 px at 300 DPI
A4 print: 2480 × 3508 px at 300 DPI
Platforms change their rules, so double-check before publishing. These are common values, not hard standards
ID photos: background swap and layout
Portrait → ID photo, pick a size (1-inch / 2-inch / visa)
Swap the background: blue, white and red are the usual choices. Check the hair edges afterwards
Layout: choose how many per sheet, then print directly
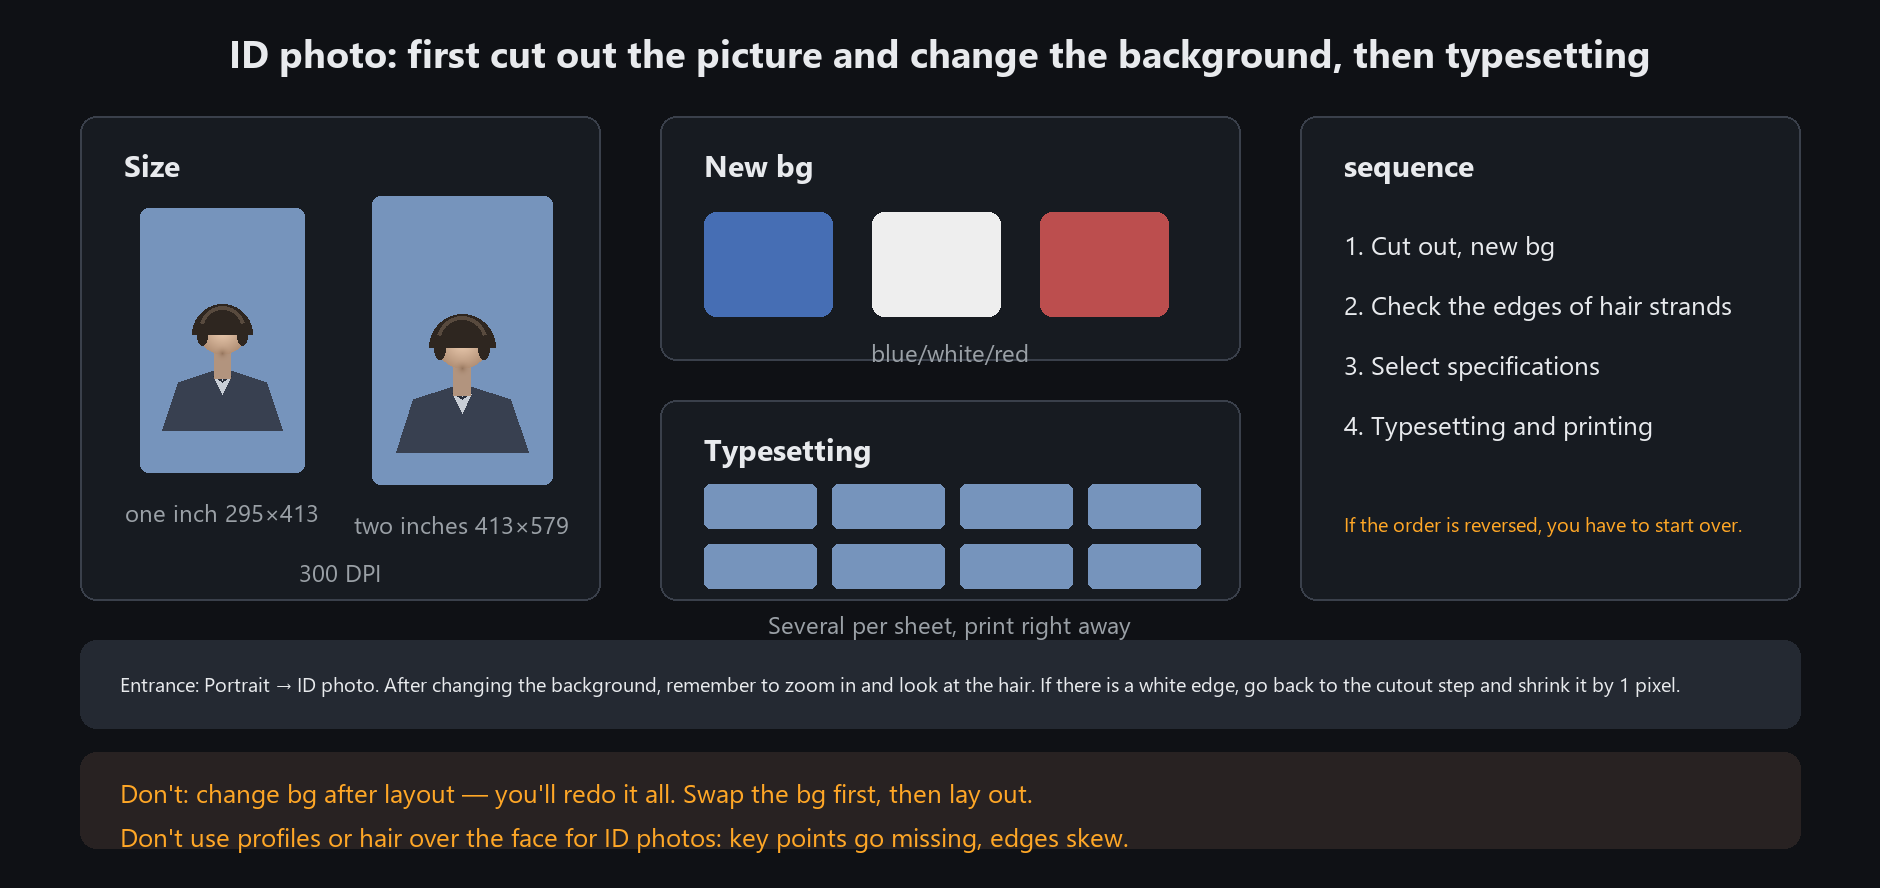
Order: cut out and swap background first, then lay out. Swapping after layout means starting over
A white rim along the hair means the cut-out was not clean. Go back and contract by 1 px