Feature 11 · Layer Onion Skin
1 topics from the in-app manual.
Onion Skin: fade other layers so you can trace
The idea
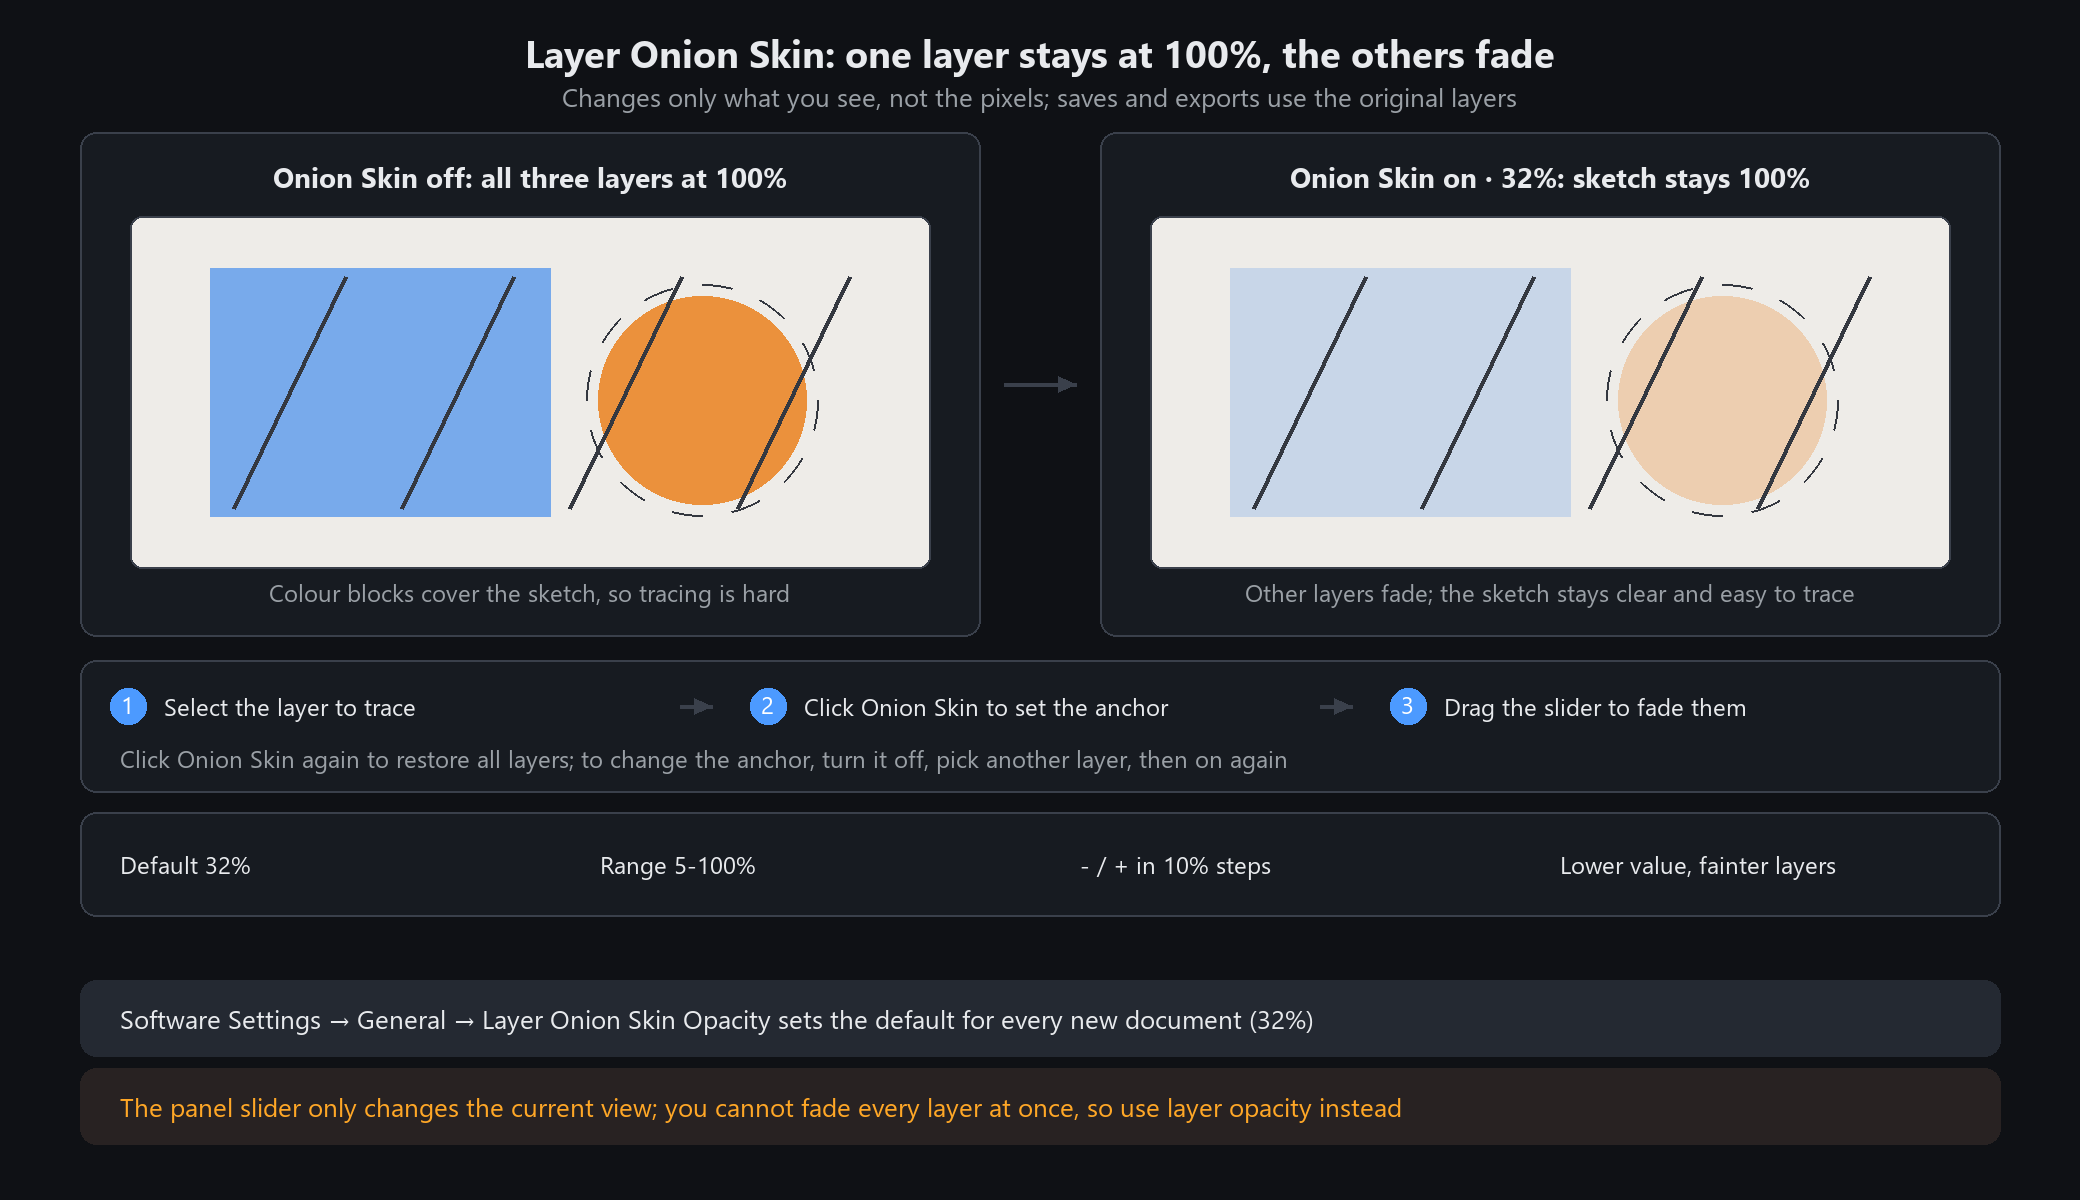
Onion Skin changes only what you see on screen, not the pixels: the selected layer stays at 100% and the others fade to a percentage you set, so you can trace a sketch. Saves and exports always use the original layer content.
Three steps
1. Select the layer to trace (sketch, line art or background) in the Layers panel and click Onion Skin in the layer toolbar. That layer becomes the anchor; switching to another layer to draw does not change it.
2. Create or select the layer to draw on. While Onion Skin is on, the Layers panel shows a slider: drag it, or use − / + in 10% steps. The range is 5–100%, default 32%. Lower values make the other layers fainter.
3. Click Onion Skin again to restore every layer. To change the anchor, turn it off, select another layer and turn it on again.
Default vs. current
Software Settings → General → Layer Onion Skin Opacity sets the default for every session (32%). The slider in the Layers panel adjusts only the current view and leaves no trace.
When not to use it / Questions
Will exports look faded? No. This is an editing preview only.
Can I fade every layer at once? No. One layer always stays normal; use layer opacity to dim the whole image.
Why is the button unavailable? Open a document and pick a regular layer or the background, not a folder.
Hiding or deleting the anchor changes the view; turn Onion Skin off and check the result when you finish.