Photo repair
4 topics from the in-app manual.
Photo repair in four passes
1. Remove dust: detect dust specks (white and black), confirm the marks, then clean
2. Fill large holes: paint over the damage and let AI repair it (LaMa)
3. Fix small spots: handle what remains by hand with the A/B brushes
4. Colourise: automatic colour for monochrome photos
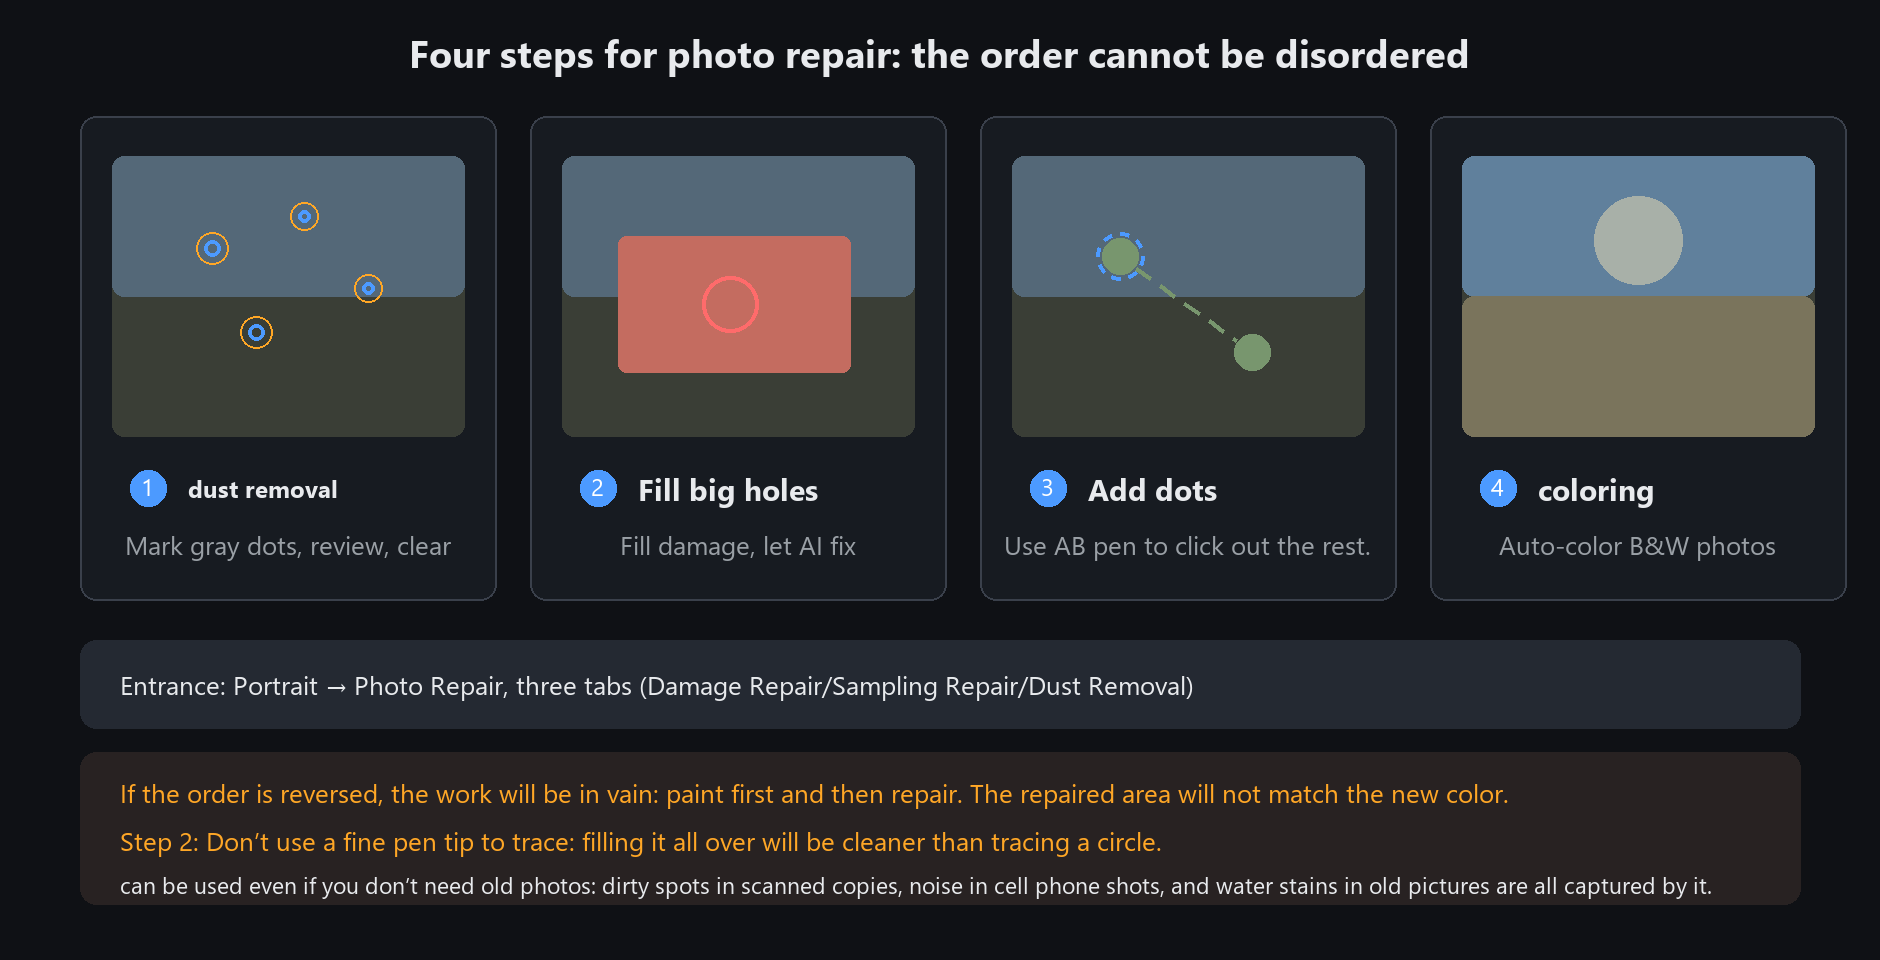
The order matters. Colourise first and the repaired patches will not match the new colour.
Repair first, then colourise, and the whole photo shares one palette
Dust removal: setting sensitivity
Tick whether to detect white specks, black specks, or both
Click sensitivity to switch level, then run detection again
Detection lists the marks — always review before cleaning, because catchlights in eyes get flagged as white specks
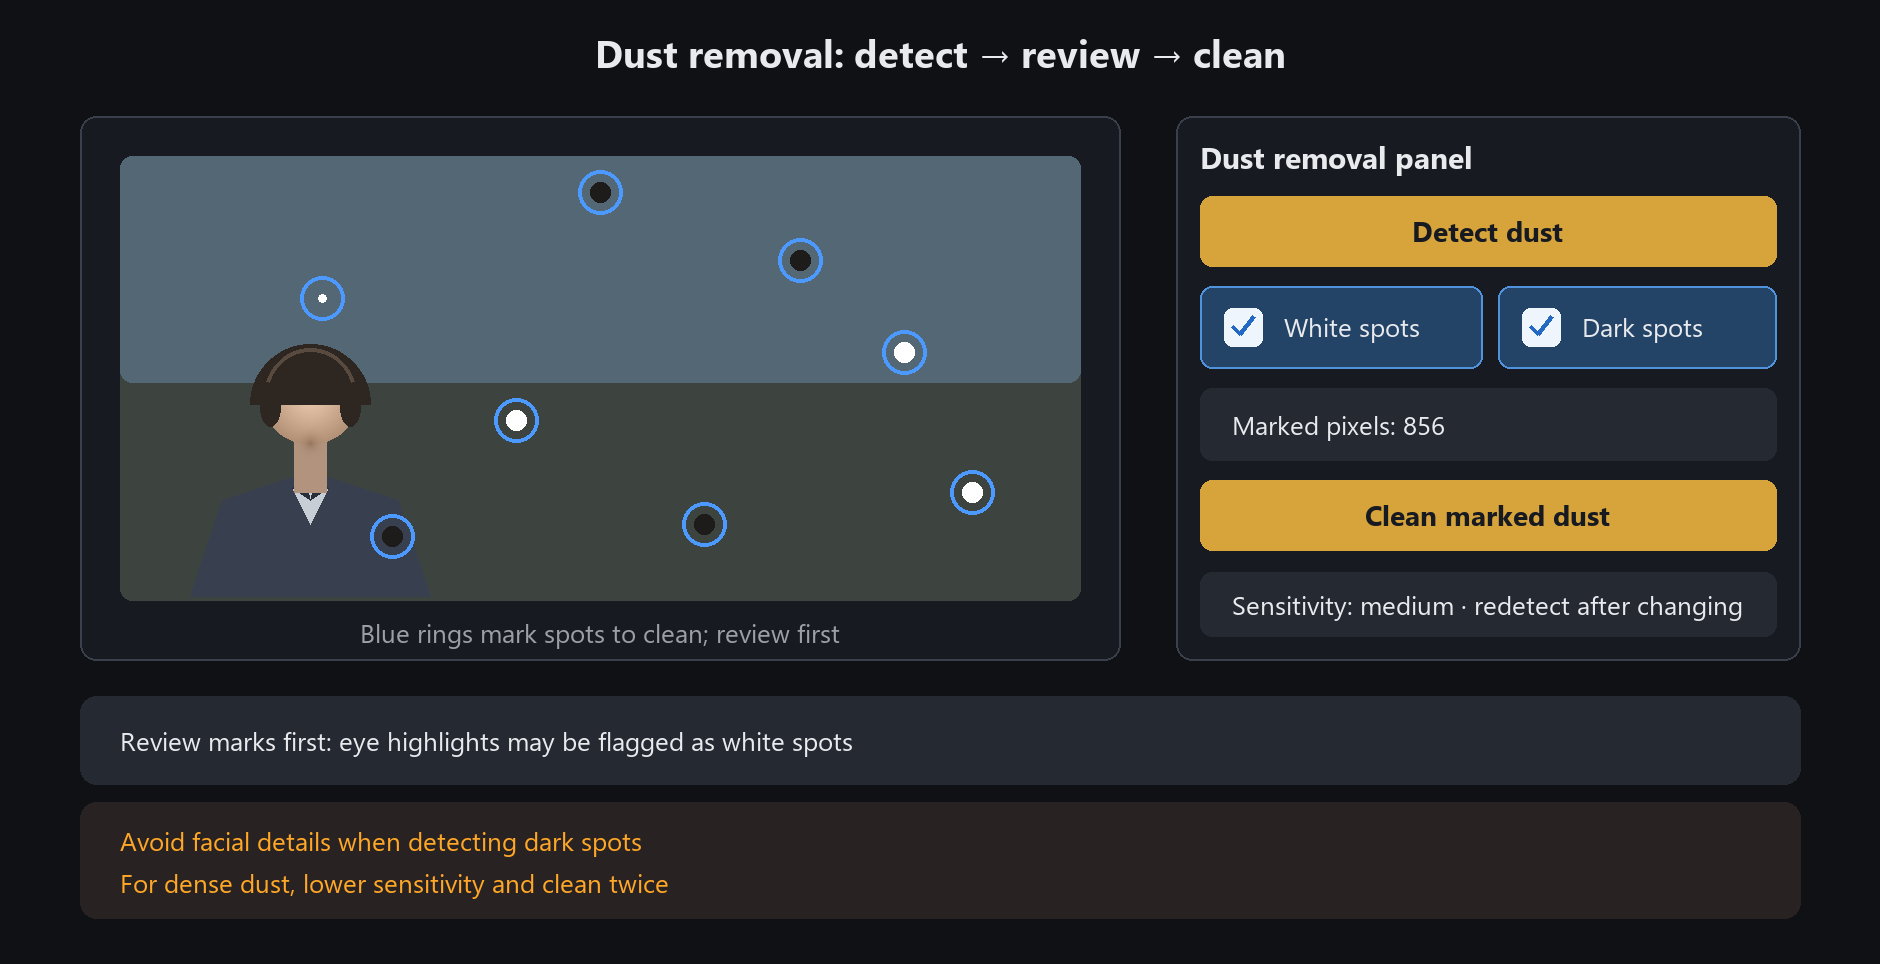
Be careful with black-speck detection around facial features. Better to miss a few than to erase an eye
AI repair: paint where it should be fixed
Paint over the whole damaged area with the brush. Paint generously rather than drawing a thin line
Click process; AI fills the painted region from the surrounding content
You can undo and repaint as often as you like
For ordinary photos there is a shortcut: AI repair in the eraser group of the toolbox runs the same model,
and it starts repairing the moment you release the mouse — no process button to click
AI repair handles large damage well — tears, missing corners, big mould patches.
For tiny specks it tends to smear; use the A/B brushes there instead
Colourisation switches
Colour strength: 0 keeps the original greys, 100 is the model's own colour. Too vivid? Drop to 70
Remove yellowing: tick it for the yellow cast of old prints
Vibrance: enhances colours that exist, without inventing colour in grey areas
Background protection: reduces miscolouring of bright backgrounds at the photo edges
Main hue: forces the subject's hue, for example green for a uniform
Check skin and sky first. Those two go wrong most often; if they do, set the main hue and run again