Feature 6 · Smart repair
2 topics from the in-app manual.
Smart repair: smear, release, done
What it does
There is a whole area you do not want — a stranger, a pole, a watermark, a stain.
You do not have to think about how to fill it. Paint over it, release the mouse,
and the AI rebuilds the area from the surrounding picture.
Three steps
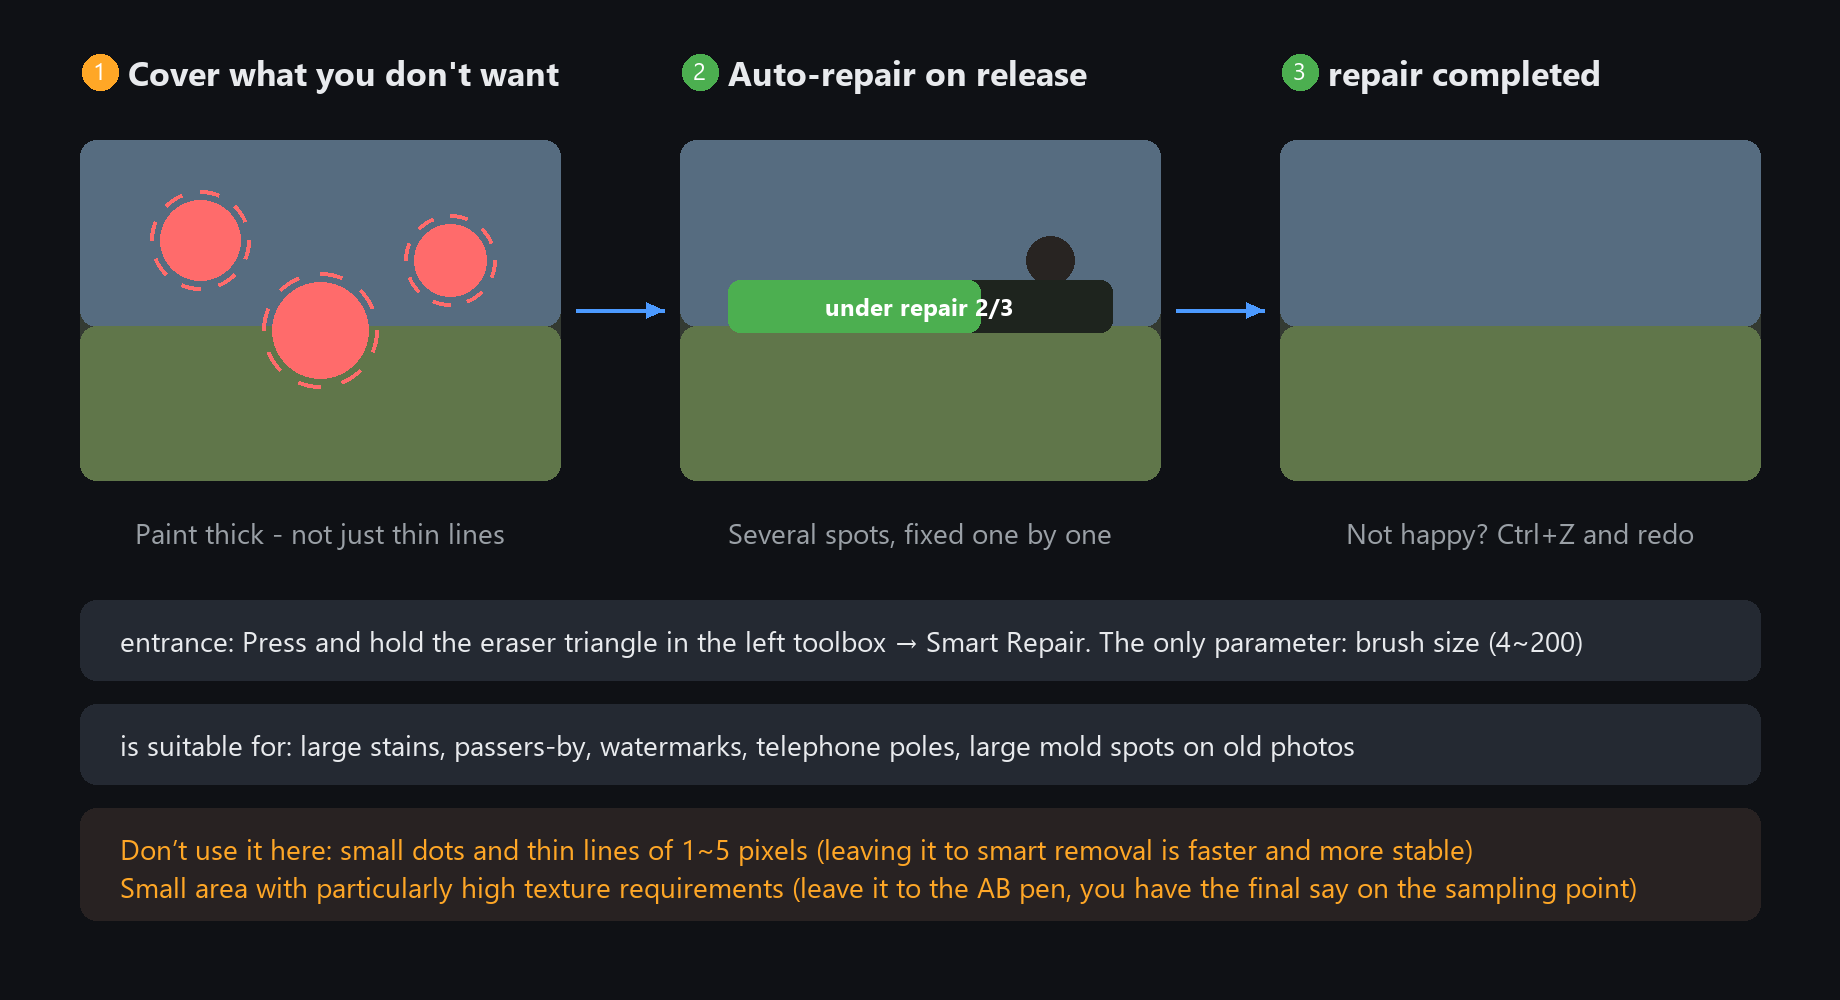
1. In the left toolbox, hold the eraser's small triangle and pick Smart repair
2. Paint over the unwanted thing generously (a bit of overshoot looks more natural)
3. Release. It queues the repair automatically, with progress on the panel
Two useful details
Paint several spots in a row and wait once — it repairs them one by one
Ctrl+Z undoes a bad result; repaint and repair again, as many times as you like
Only one parameter: brush size (4~200). Thin tip for poles and wires,
thick for large stains. Do not trace the outline with a thin tip — filling beats outlining
Smart speck eraser: specks and thin lines, cleaned automatically
Division of labour with smart repair
Dust, scratches, stray strands — small things of 1~5 pixels. Smart repair tends to smear
the surroundings on these. The smart speck eraser is built for exactly this:
smear over the dirty area once, and it decides which pixels are intruders and
repairs them from the surrounding normal colour. Large intact areas are never touched.
Four sliders (names as shown in the UI)
Detection range: how far around to look for clean colour. Increase for dense specks
Max speck size: how big a dot still counts as a speck; anything bigger goes to smart repair (cap 12 px)
Repair strength: how aggressively to fix. Raise if traces remain, lower if it starts to look smeared
Edge protection: keeps real detail (lashes, fabric texture) from being treated as specks. The default is fine
For mouldy old photos and dusty scans, run the speck eraser first — it saves most of the manual touch-up.
With very dense specks, lower "max speck size" and repair in two passes